Design with 3D Printing in Mind
日期:2022-08-12 13:41:26 發布者: 瀏覽次數:次
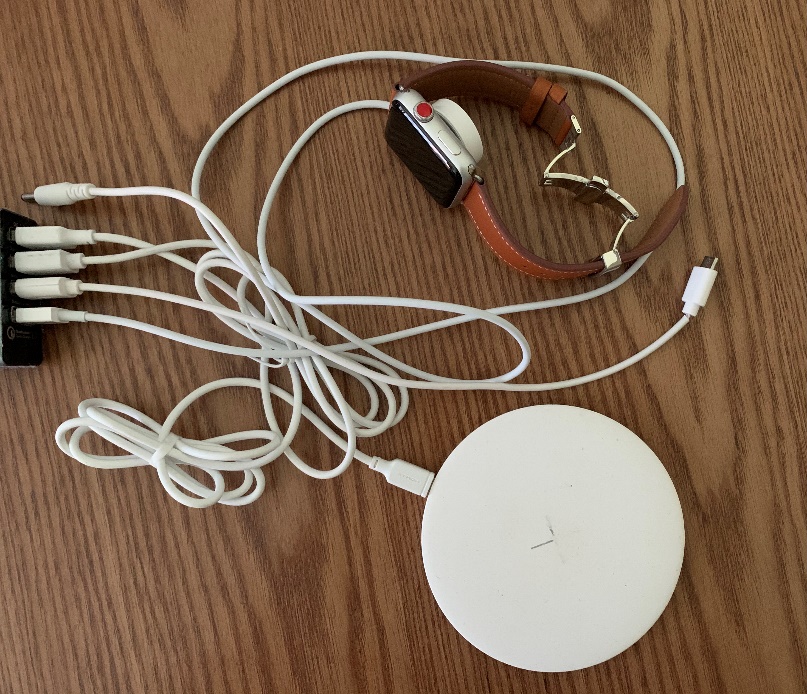
Today, we are surrounded by electronic devices and some have become an indispensable part of our everyday life. However, most of these electronic devices require charging and one common problem we face is the cluster of cables, making our desktop extremely messy.
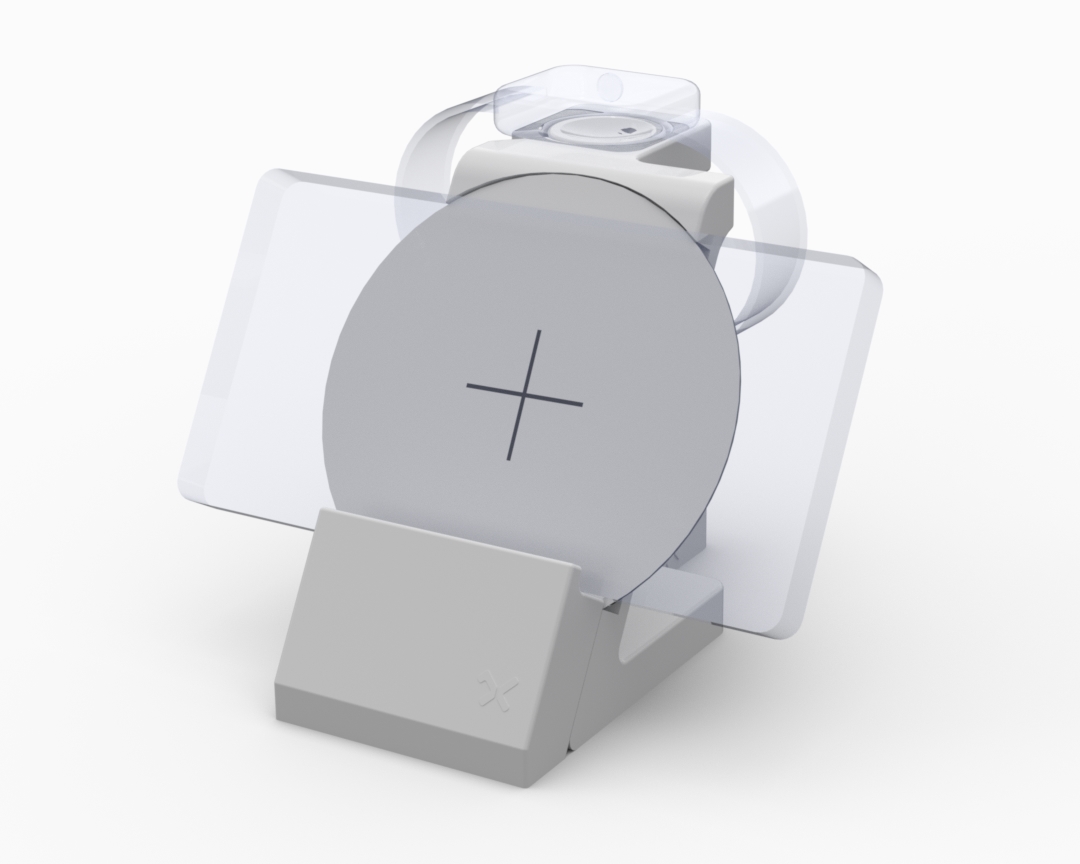
With that reason in mind and an access to a good 3D printer, I decided to make use of my CAD skill and design an all-in-one charging station.
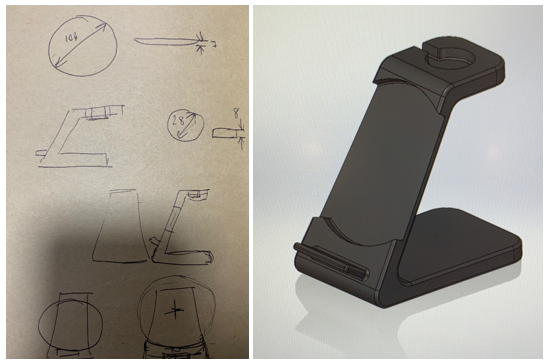
I started with a simple sketch.
Taking note of the critical dimensions will help you create the frame of your design.
Making use of a computer-generated model (CAD) allow you to verify and modify your design to achieve the best design in a short time frame.
So, your design is finalised but is it ready for 3D printing? Isn’t 3D printing allow you to print the impossible? True. Even tough 3D printing can print something that cannot be achieved in traditional manufacturing method but there are still printing constraints we need to consider, like, overhang, supports, tolerance, assembly fittings, printing times, post processing, etc.
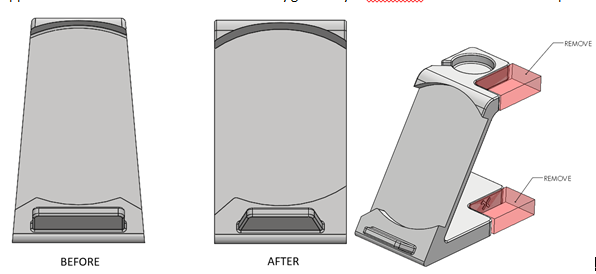
My first initial design has a draft angle on both sides and printing on its side will achieve the best print time but require more support on the edge. If I choose to print upright then it will have support on the inside, therefore require more post processing to achieve a good surface finish. To optimise your 3D print then you have to create a design to match.
With design for 3D printing in mind, I modified the design with a straight edge, reducing the amount of support needed and removed some unnecessary geometry to minimise the overall cost of the print.

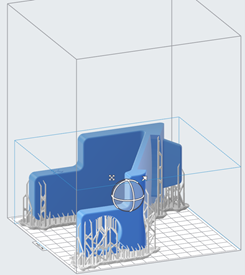
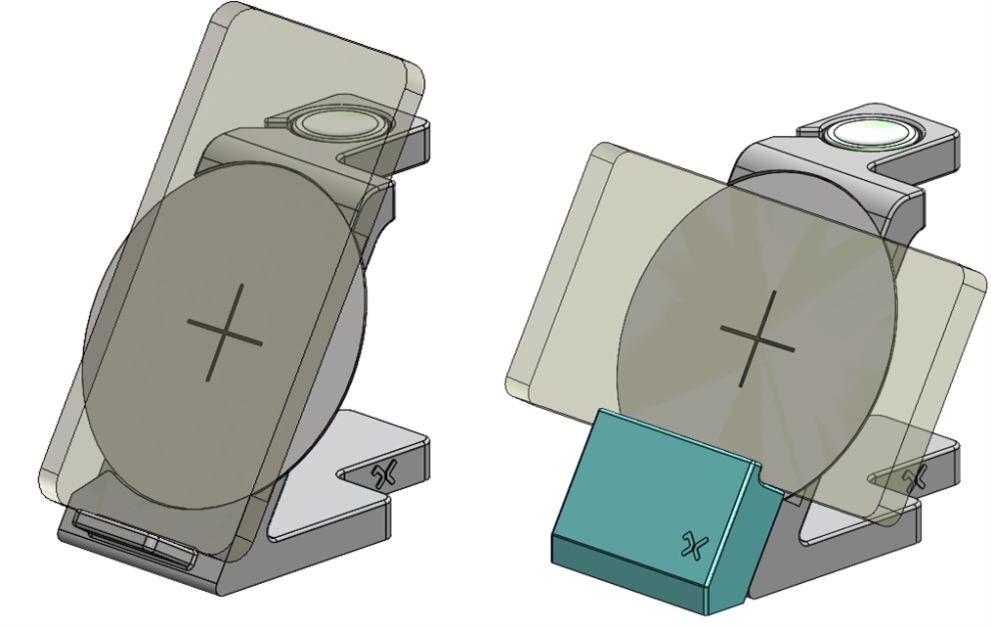
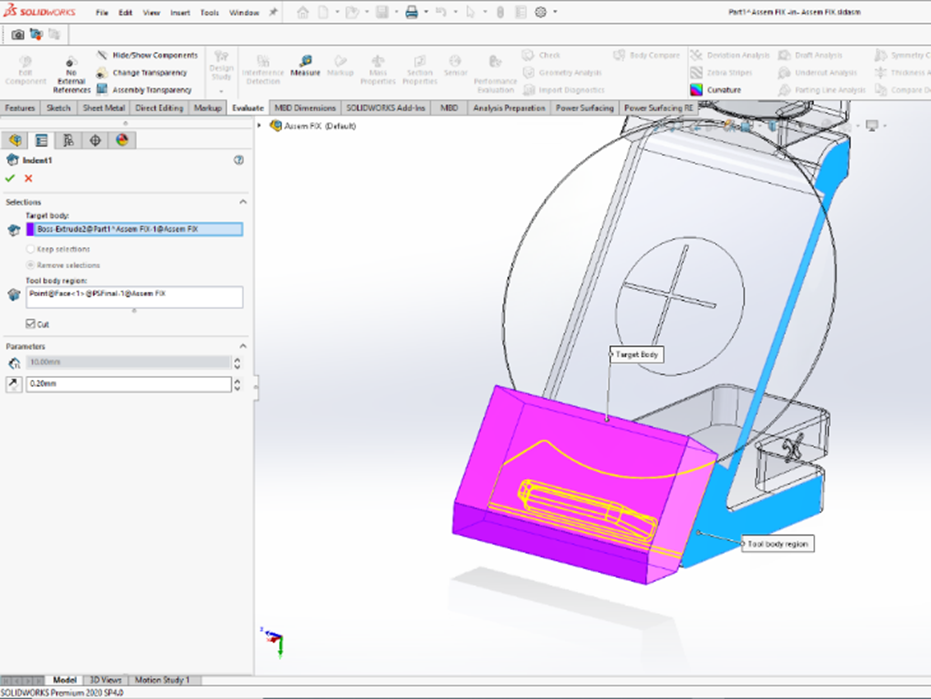
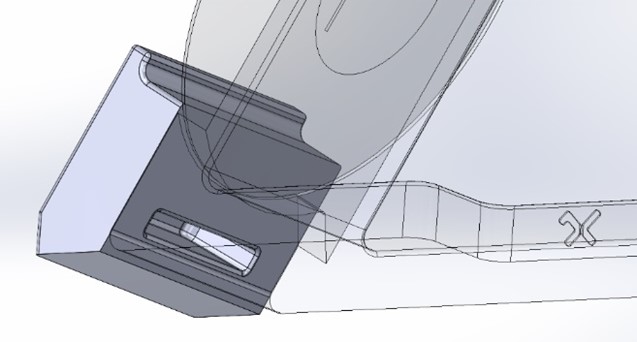
The print came out great, not much support needed to be removed but I want to make the holder more flexible so I could charge the phone on its side as well as upright. Therefore, I designed an additional add-on part. The additional part will need to slot perfectly into the bottom ledge. SOLIDWORKS has an excellent feature called “indent” which is an ideal tool for this process. Just to need to select the main body and the tool body (solid body which you want to use as the tool) and adjust the offset to avoid overtight or over-loose fit, then it will automatically create the indent feature on your model.
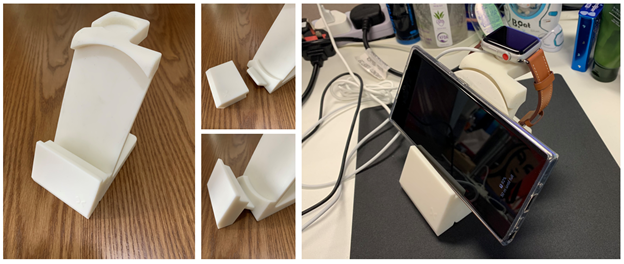
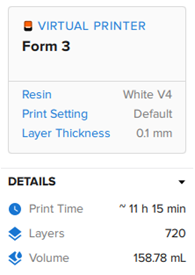
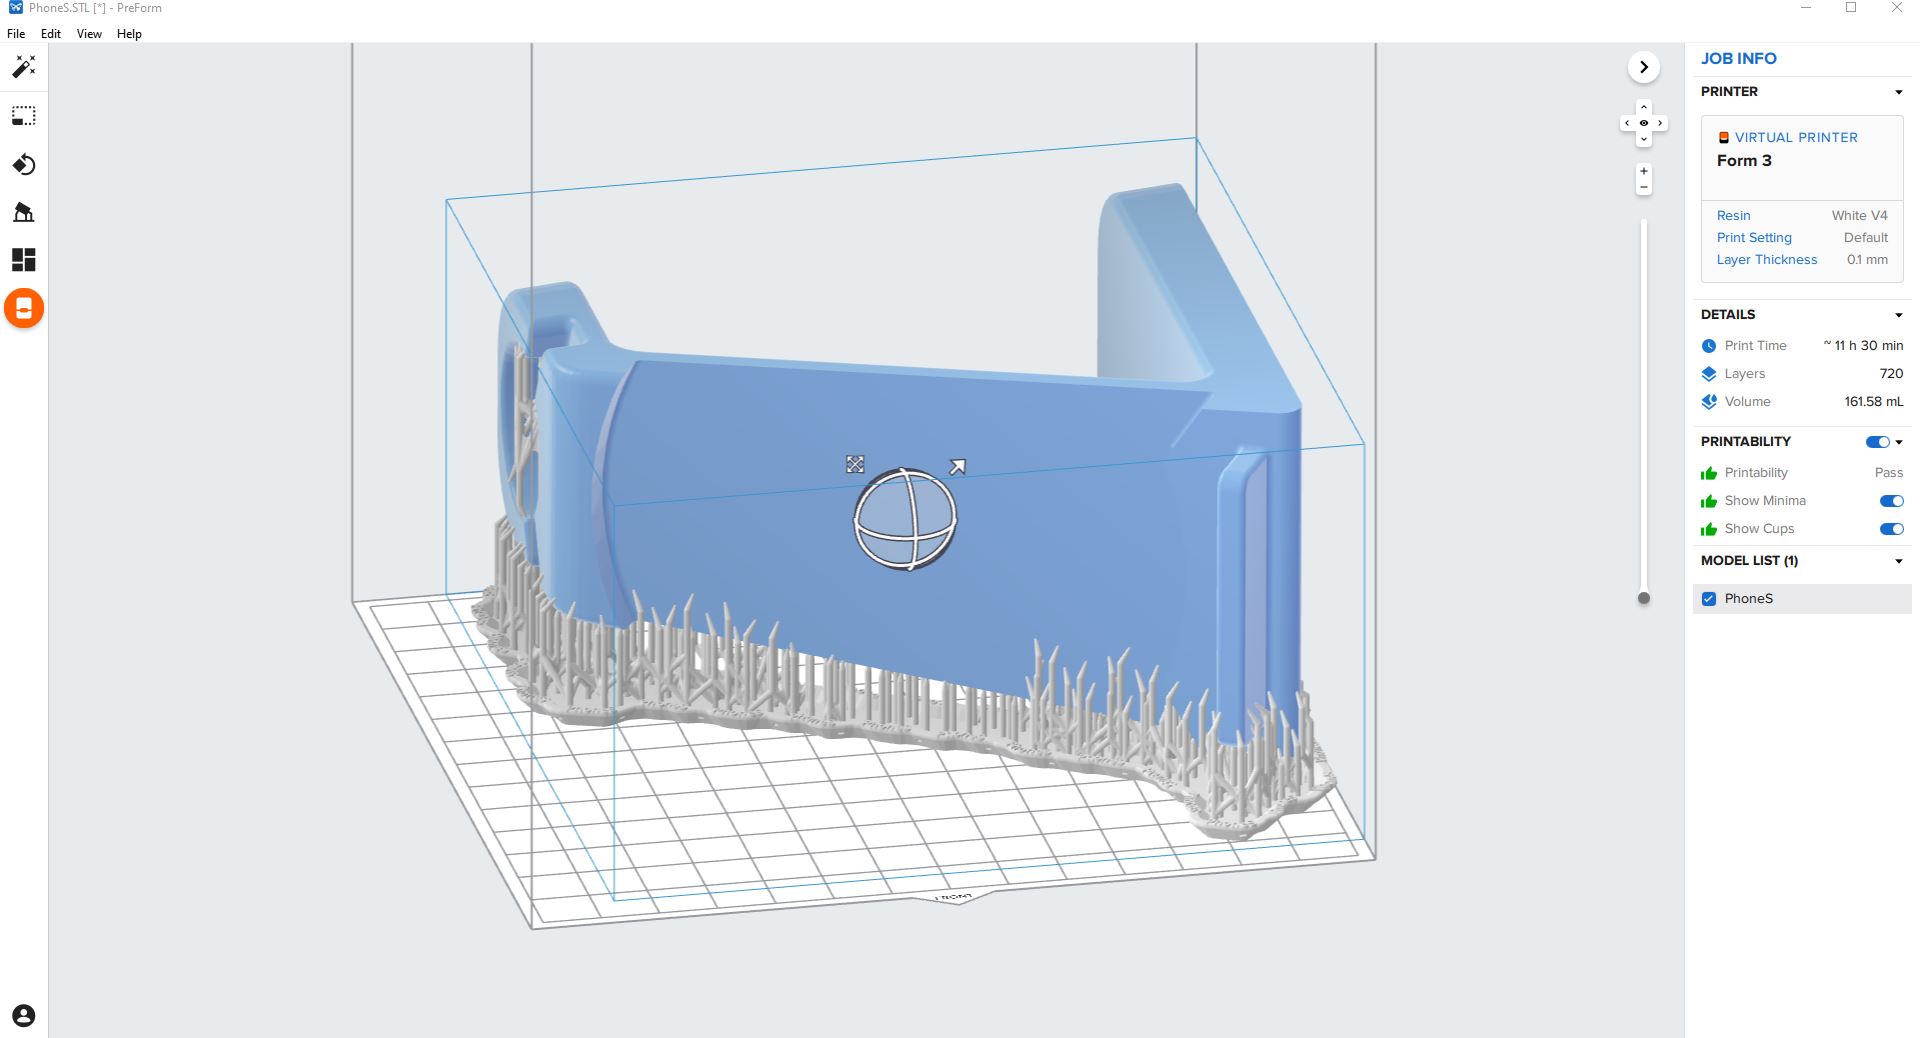
The phone holder turned out very well. Even tough it means I needed to modify my original design but using less support means less cost and time. For reference, the model was printed using FormLabs Form 3, the print time is estimated as shown below.