3D Experience | Complex 3D pattern transformation by simple adjustments
日期:2023-04-20 11:45:17 發布者: 瀏覽次數:次
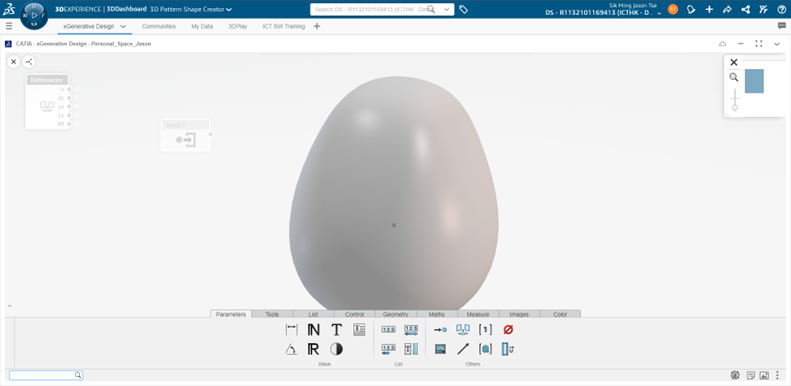
CATIA xGenerative Design is a web-based generative modeling app, available in the cloud and uniquely combines graphical visual scripting and interactive 3D modeling, with the ability to use one or the other interchangeably at any time.
This means you can script a "code" with operator boxes (for geometry, mathematics, etc.) on the left-hand of the screen and see the evolving interactive 3D model transforming at the same time on the right-hand side.

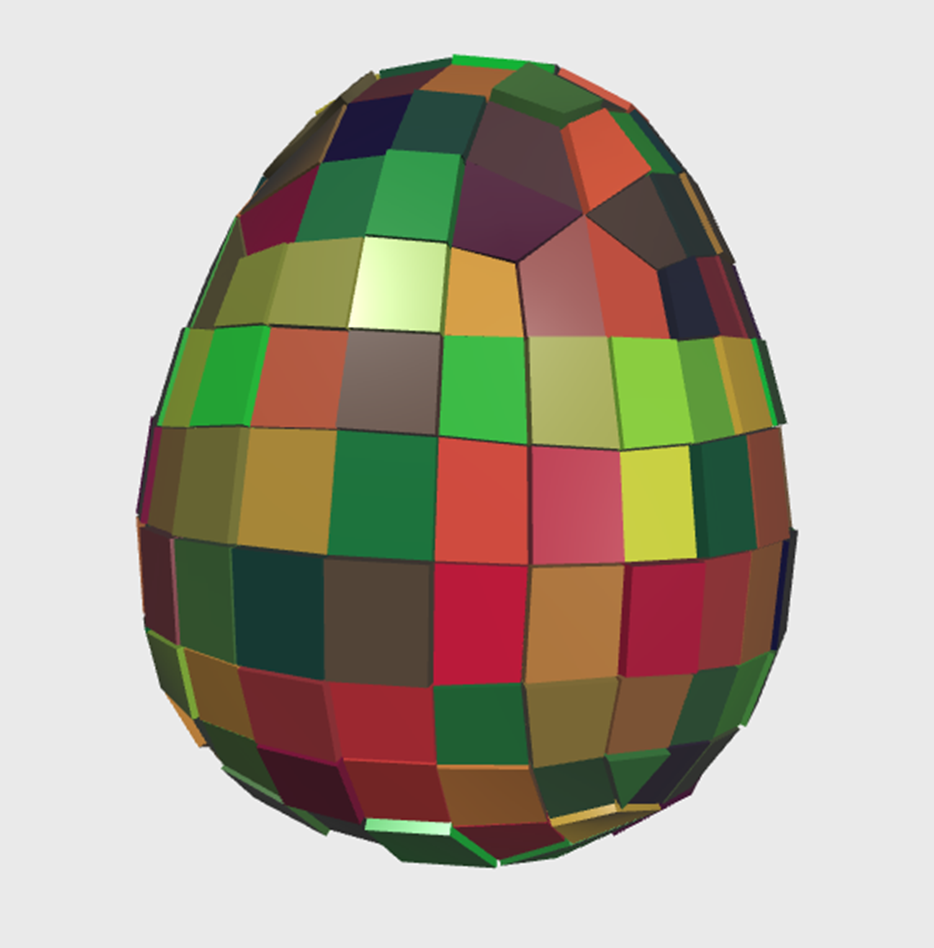
Here is a walkthrough to give insight of how flexible it is to create model in 3D pattern generator with simple figures:
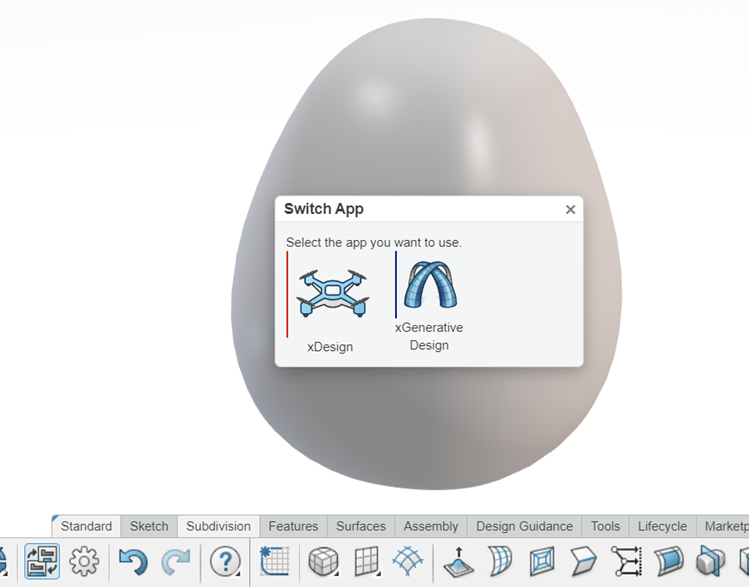
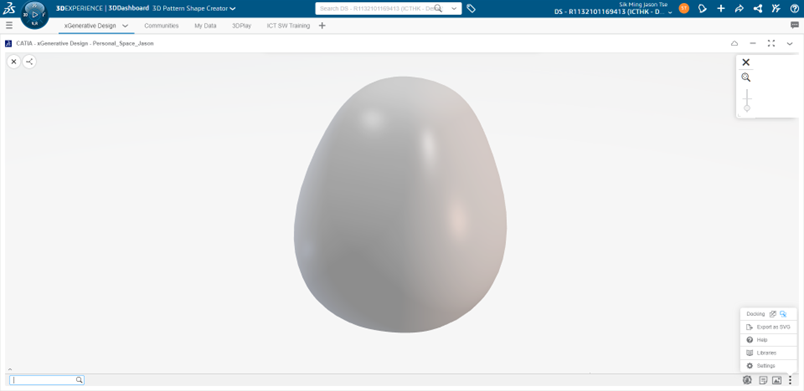
1. It all starts with an existing geometry (you could create one in the 3D pattern generator or from other Apps by switching between apps)
2. Start the design sequence with the graph editor: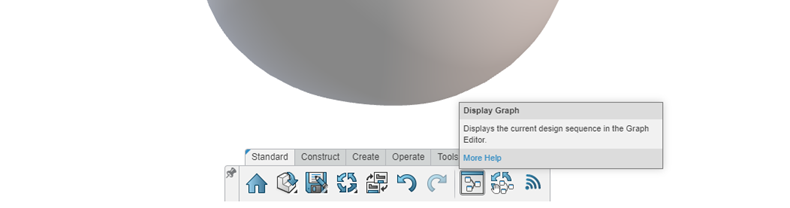
Where you can choose between windows mode and overlay mode
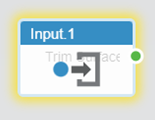
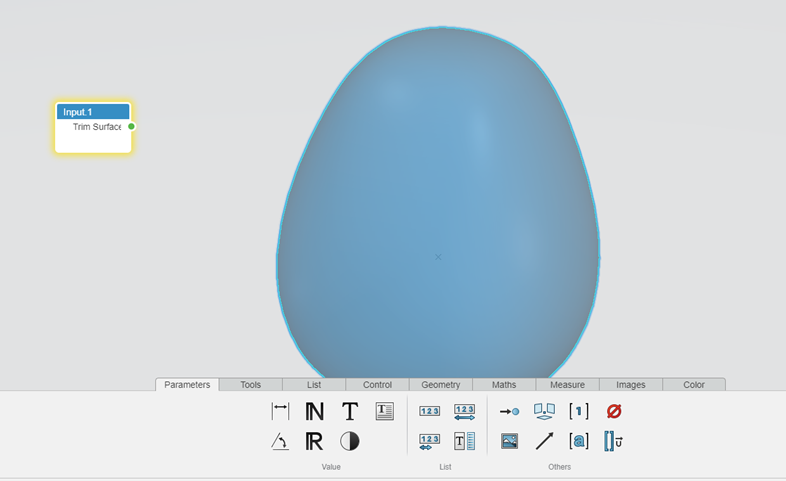
3. Start with the input tool to extract the surface data, drag the input tool to the graph:
Click on the input icon and select the surface imported
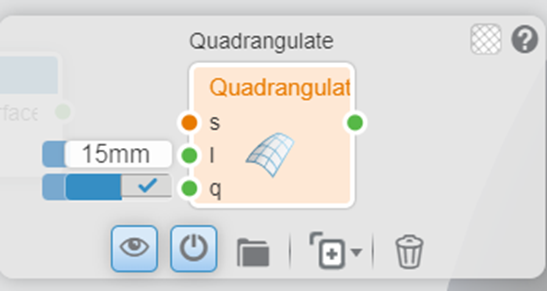
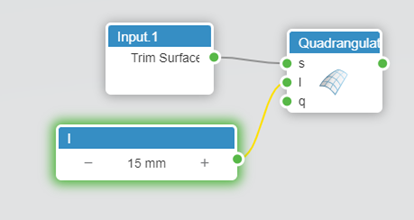
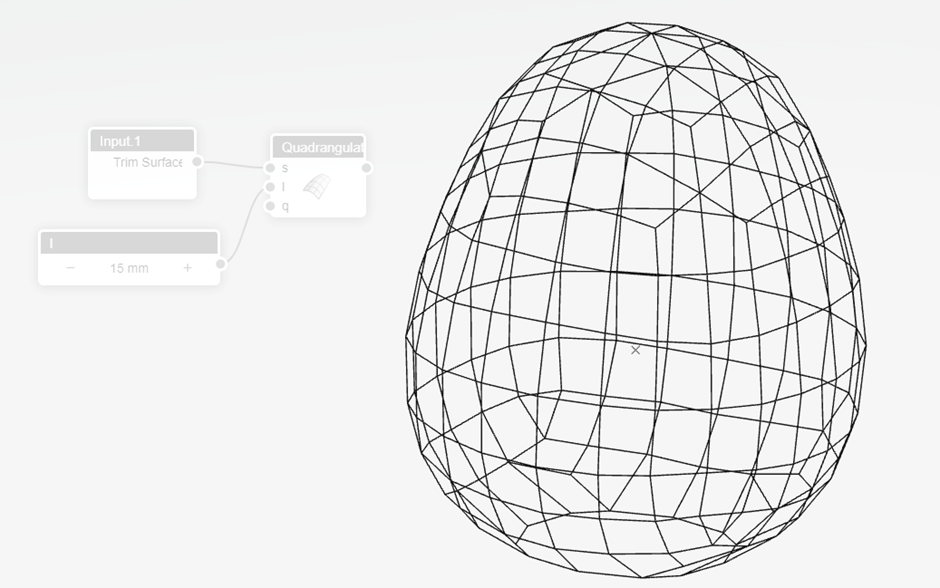
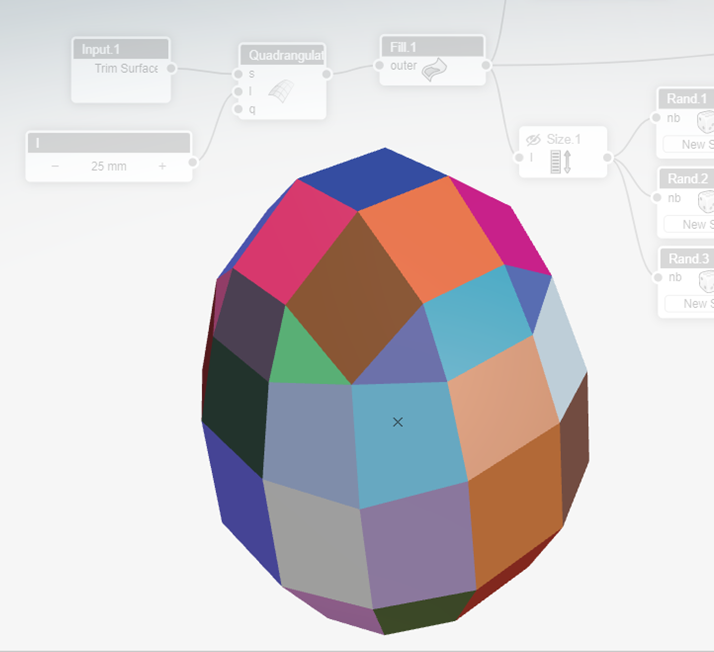
4. Compute the surface into quads from by curves using the quadrangulate tool
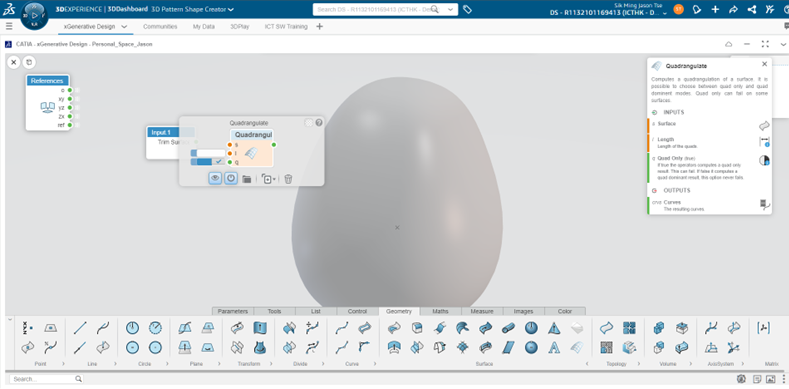
There are 3 inputs available: surface, length and qual only option, you can enter the length directly in the input box
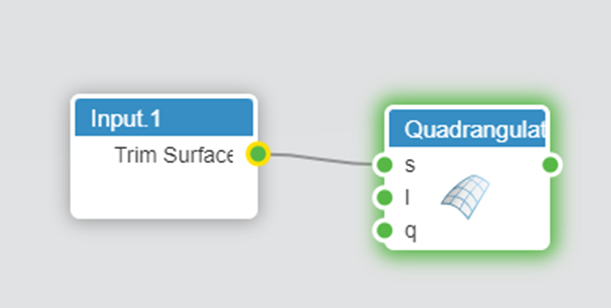
5. Link the input surface to the surface input by dragging a path between the dots:\
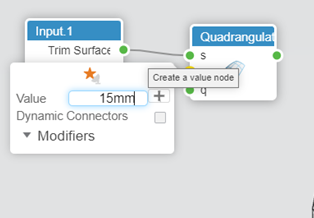
 You can create vault notes by clicking the add button or easier edit:
Notice the output are curves and need to form a surface apply colour
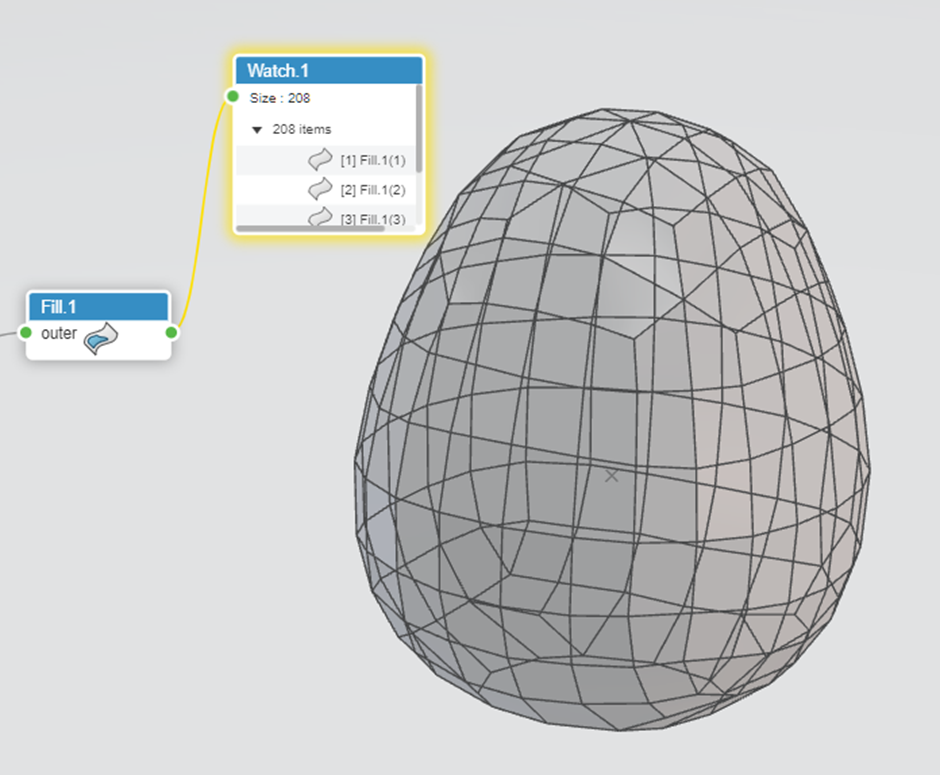
6. Use Fill surface tool to create surfaces:

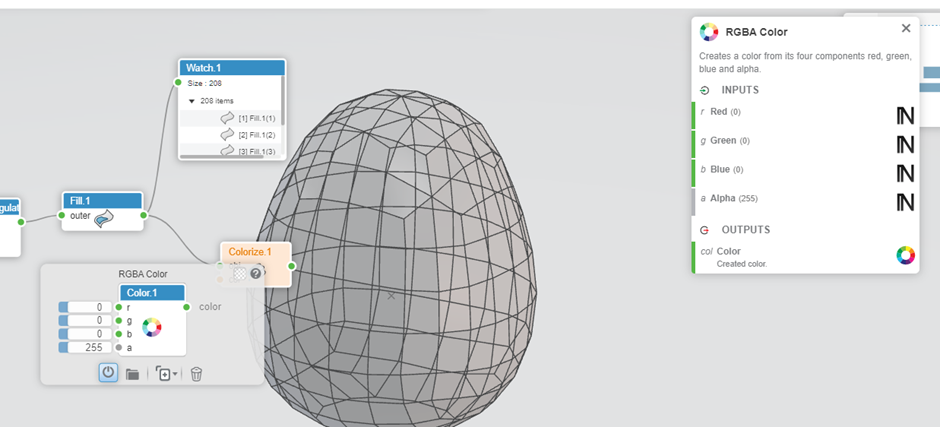
7. To count how many surfaces created, use the watch tool to display the list of output:
 8. To apply colour on these surfaces, use colourize with colour chooser:
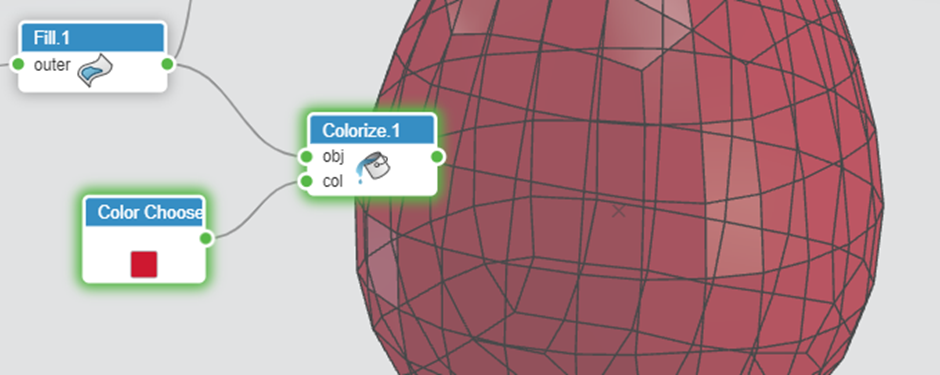
Notice that this will be applied to all surfaces as the same colour as there is only one input
9. To randomize the colour of each surface, remove the colour chooser and use the RGBA colour instead
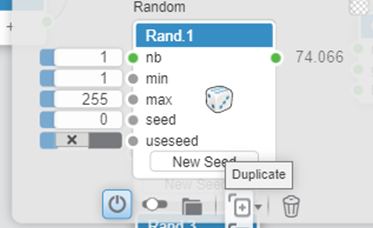
 Use the random tool to generate integers between 1 to 255

Duplicate as we need three of these to link with the inputs of the RGBA colour
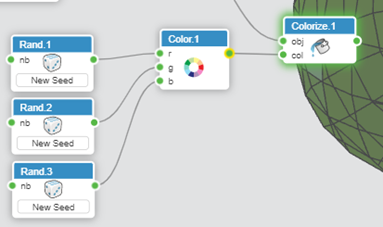
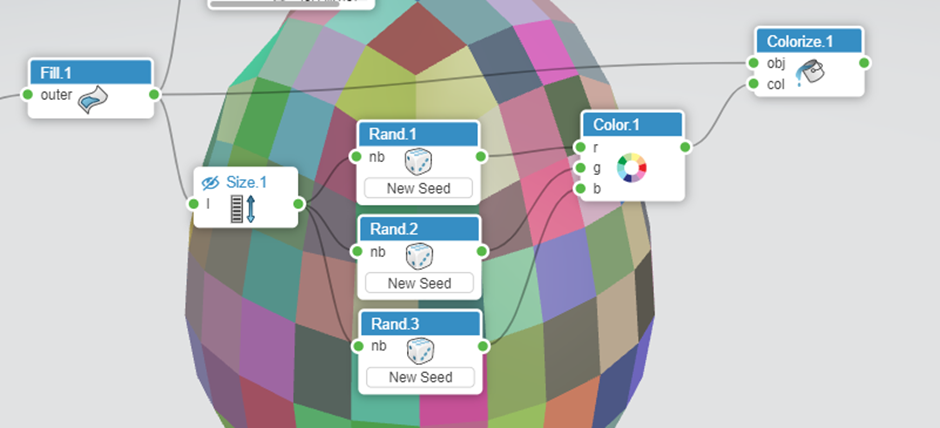
10. We need to generate equal amount of colour as the surface, use the size tool to obtain the number of surfaces created from the fill tool and link the values to the random tools (you can rearrange the graph tools freely)
11. Finally use publish to make the result accessible to other apps:

Easy editing with input values also provides quick modification of geometry:
(Increasing the length value)

(Change from quadrangulate to triangulate)
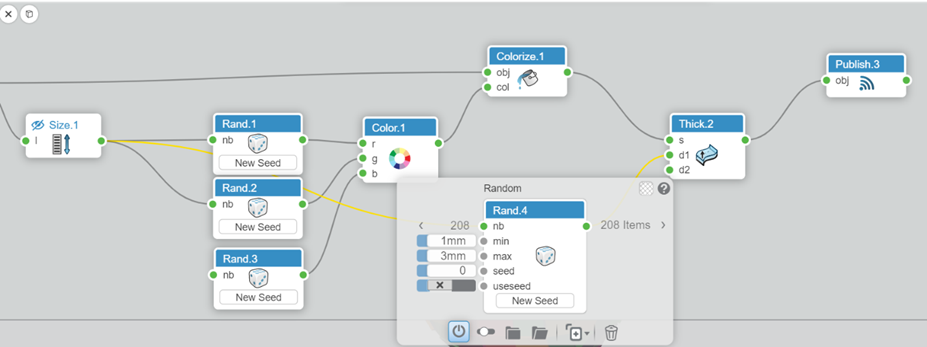
(Add thickness)